
Prior to my son’s birth, I wanted to build a piece of furniture for him as an infant. While planning the nursery, we searched and searched for a good changing table and dresser and found that most things on the market were either crappy, expensive, ugly, or any combination of the three. We figured that a standard chest of drawers would be idea, but there was no nice changing table for them. I decided I would build one to fit a chest of drawers and that when we were done with the changing pad I would convert it into a low table for him to play on.
I have a few photos of the build process that I’ve included below. You can also see the full gallery on my SmugMug account.

Design
Looking through IKEA’s offerings, I found that the small Hemnes chest would be the perfect size. Three full drawers could hold lots of things. My plan was to build a large box with a large bottom. The bottom would be inset into the box by about an inch so that the box sides would fit snuggly over the top of the chest. This way it wouldn’t need to be hardware anchored to the chest. If it was loose in any way I would have anchored it.
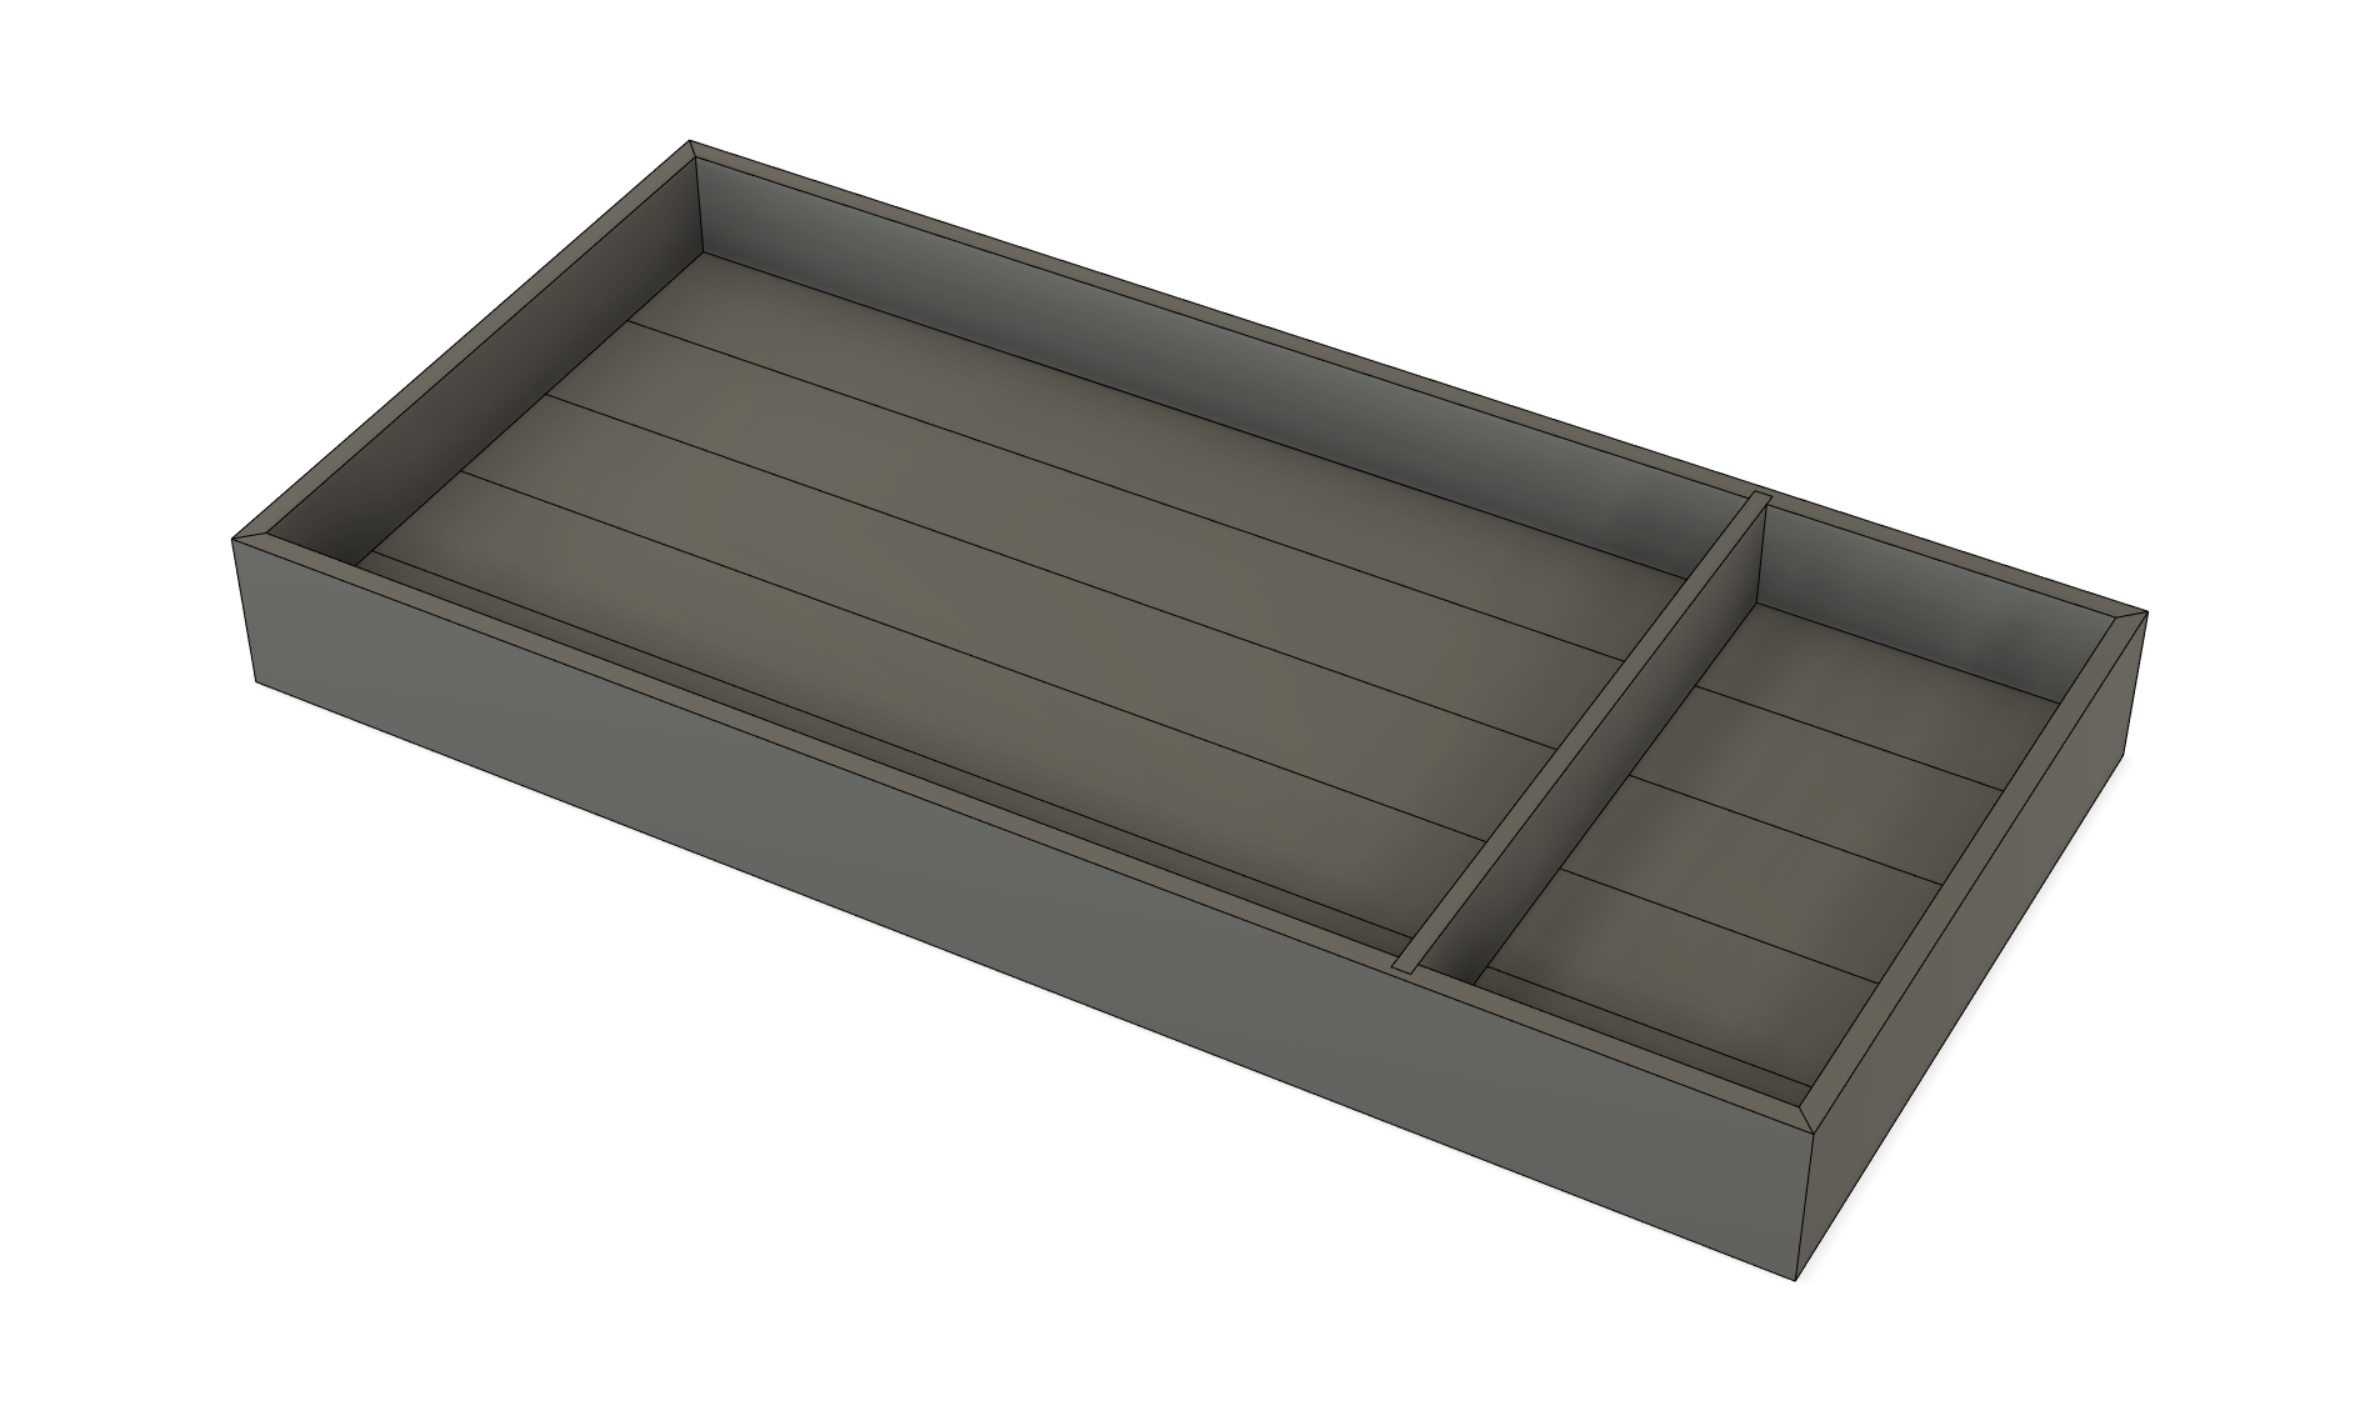
Following the design of most changing tables, I put a small divider about 4⁄5 down the box for holding “stuff”. I would leave this loose so that it could be removed as he grew.
I made an orignal design (in so far as a box can have an original design) in Fusion360.
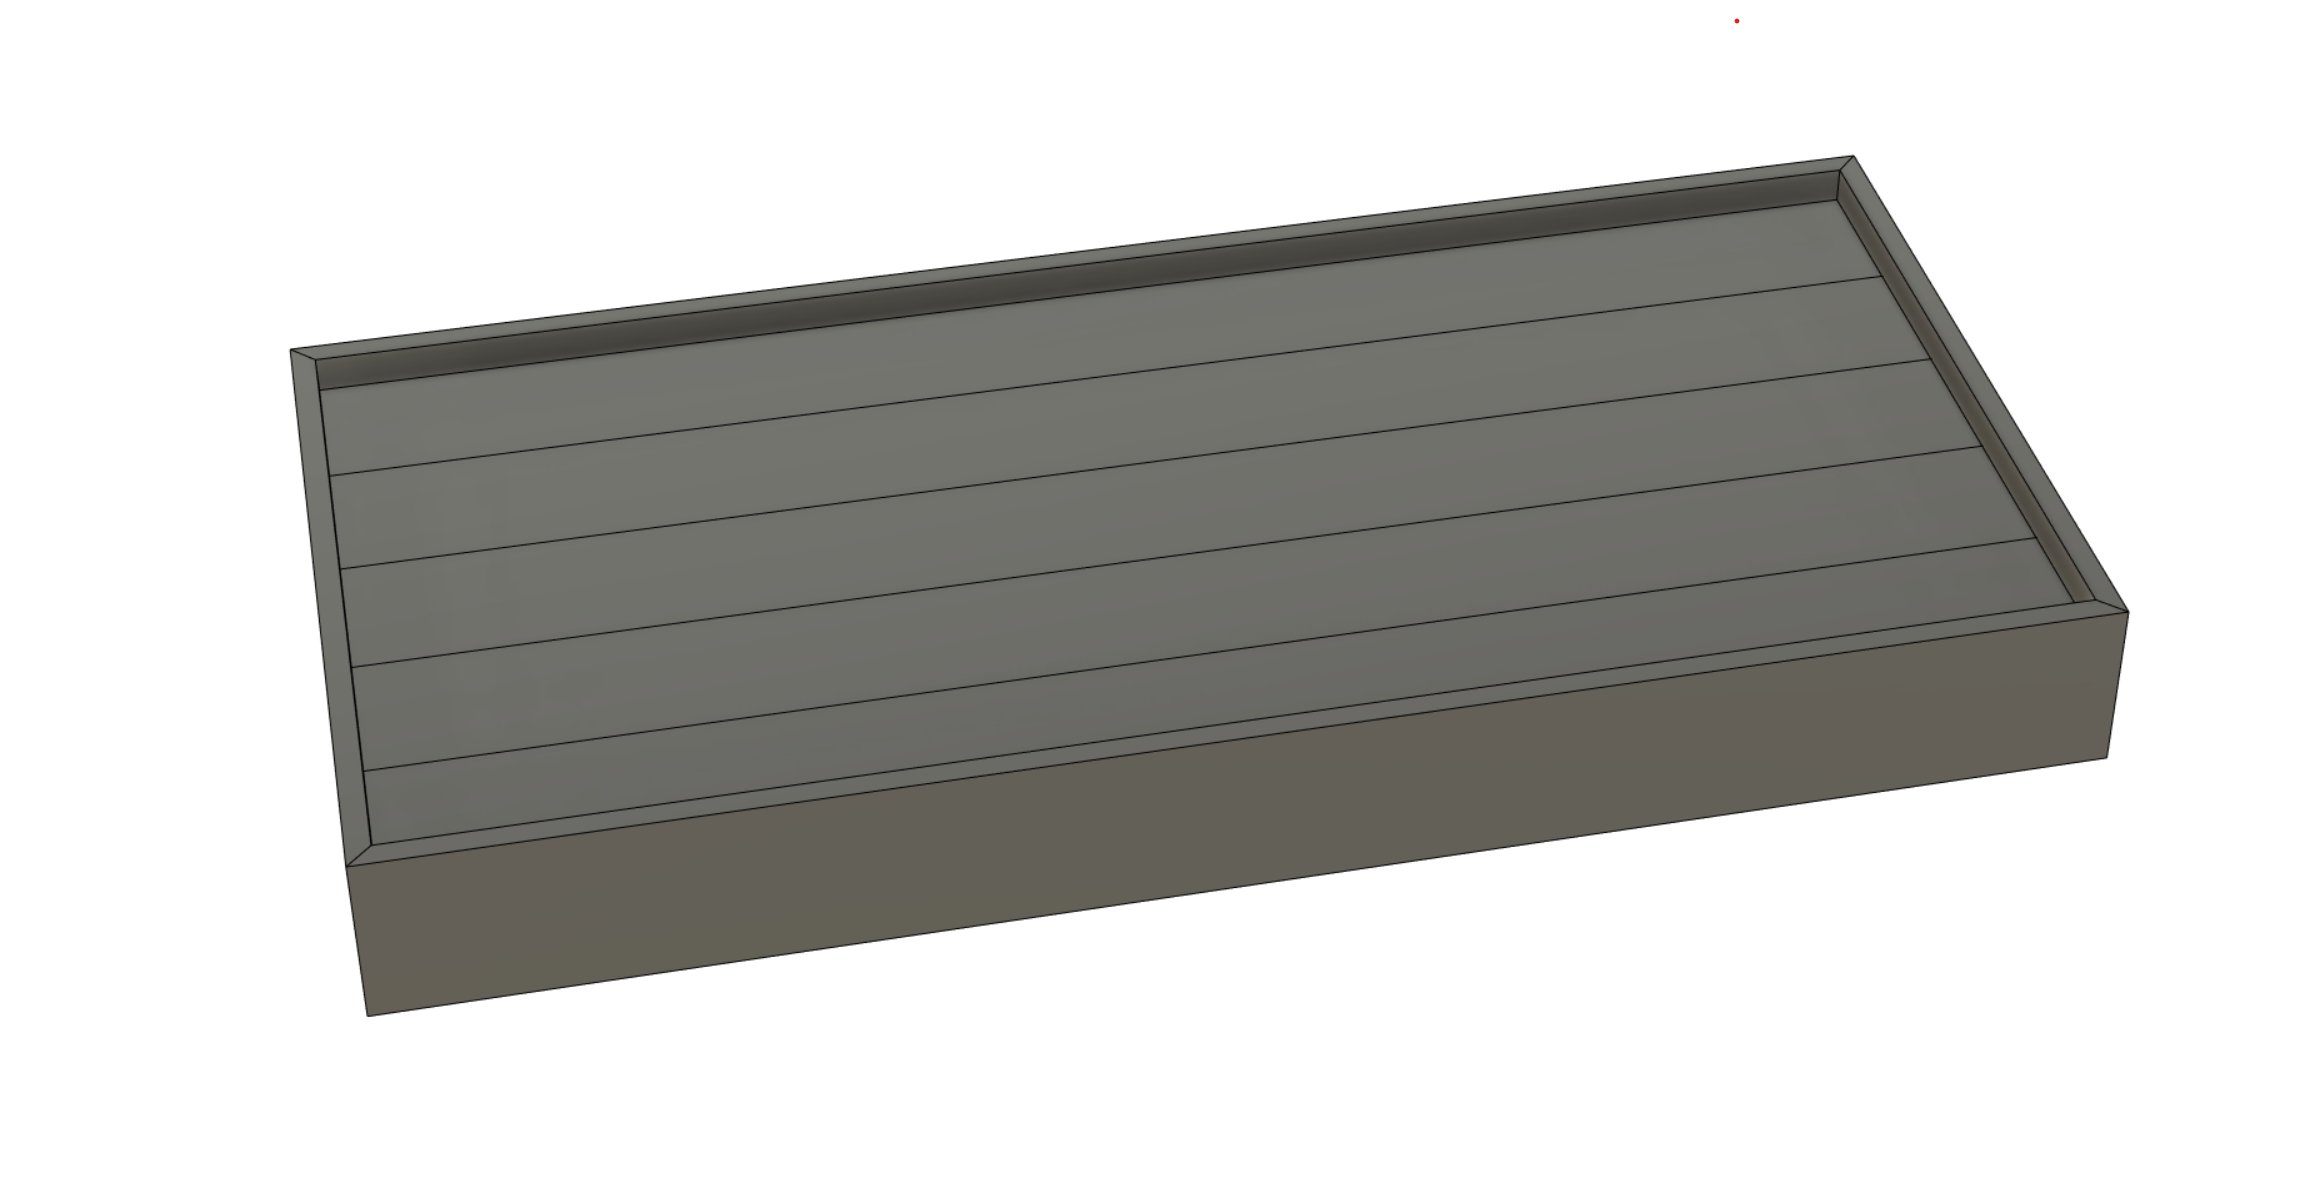
Once we were done with the changing pad, I would add some short legs to all 4 corners and the changing table would be a large, flat, enclosed surface for my son to use for Lego or Duplo or other building toys. This part was “just an idea” until I executed it 3+ years later, so I did not formally plan the exact process.
Materials
I wanted a light color, so I went with maple. I got lucky when picking out a 5⁄4 maple board and I found a nice, curly board in the rough. I also bought a more boring board to make the bottom of the box. I could have done this with maple plywood (which would have been smarter!) but I did not.
I kept a small offcut that went into the bottom for a few years and used that for the legs.
Construction
This piece is just a simple (large) mitred box with a bottom that is grooved/dadoed in. The only concern I had was that the bottom was allowed to move enough. I succeeded in this, but I did not succeed in anticipating the movement between when I cut things and when I could glue them. Houston humidity is awful…
After some repairs, I was able to mate all of the mitres and finish the box just in time. There are no splines or dowels, so thank goodness there have been no issues with structural integrity.
Here it is in “changing table” mode. The divider is removed because my son was far too big to have it. When he was small enough, it was convenient to be able to store diapers, cream, etc. there.

Easy access to full-sized dresser drawers was amazing. Top draw for diapers, etc. Middle for clothes. Bottom for misc. After he got big enough, we could use them all for clothes.
Once we took it off of the chest of drawers, I cut some legs from the remaining stock. This was only 6⁄4 (I think) so it wasnt really thick enough for solid legs, so the tapered legs are actually two pieces mitred together length-wise. Then I cut tapers on two faces, and carefully cut large bridles to fit the legs into the underside of the table. Because the table was 3+ years old at this point, there was enough movement (and due to the afore mentioned repairs) that each leg had to be custom fit in to be smooth to the face.
Also, the original dados that I cut for the divider no longer lined up, so I had to finesse (widen) them some, which then left the divider a touch shorter than I wanted. So, to prevent scratched arms, I chamfered the top around them.

I had left the table unfinished, largely due to time but also because I didn’t want to risk unsafe products with the baby. So, I scraped and sanded everything again and put a coat of clear Rubio on it. Safe, highlights the chattoyance, and repairable!
Final Results
Here it is in the final state!
Firsts for this project:
- First piece I’ve revisited after a few years.
- First tapered legs.
- First bridled “joints” (joint used loosely…)
Some additional lessons learned:
- Glue as quickly after cutting, humidity is terrible!
- Think through removable parts (the divider)!
Build Gallery


-rjh