
Prior to my son’s 2nd birthday, I decided that I wanted to build an heirloom cedar toy chest for him. I had hoped to complete it by the following Christmas. Untold working hours and right on time, it is complete.
I have tons of photos of the build process that I’ve included below. You can also see the full gallery on my SmugMug account.

Design
I searched far and wide for plans that I liked for the chest but did not come across anything that was ready-made. I ended up basing my plans from the MLCS cedar chest plans.
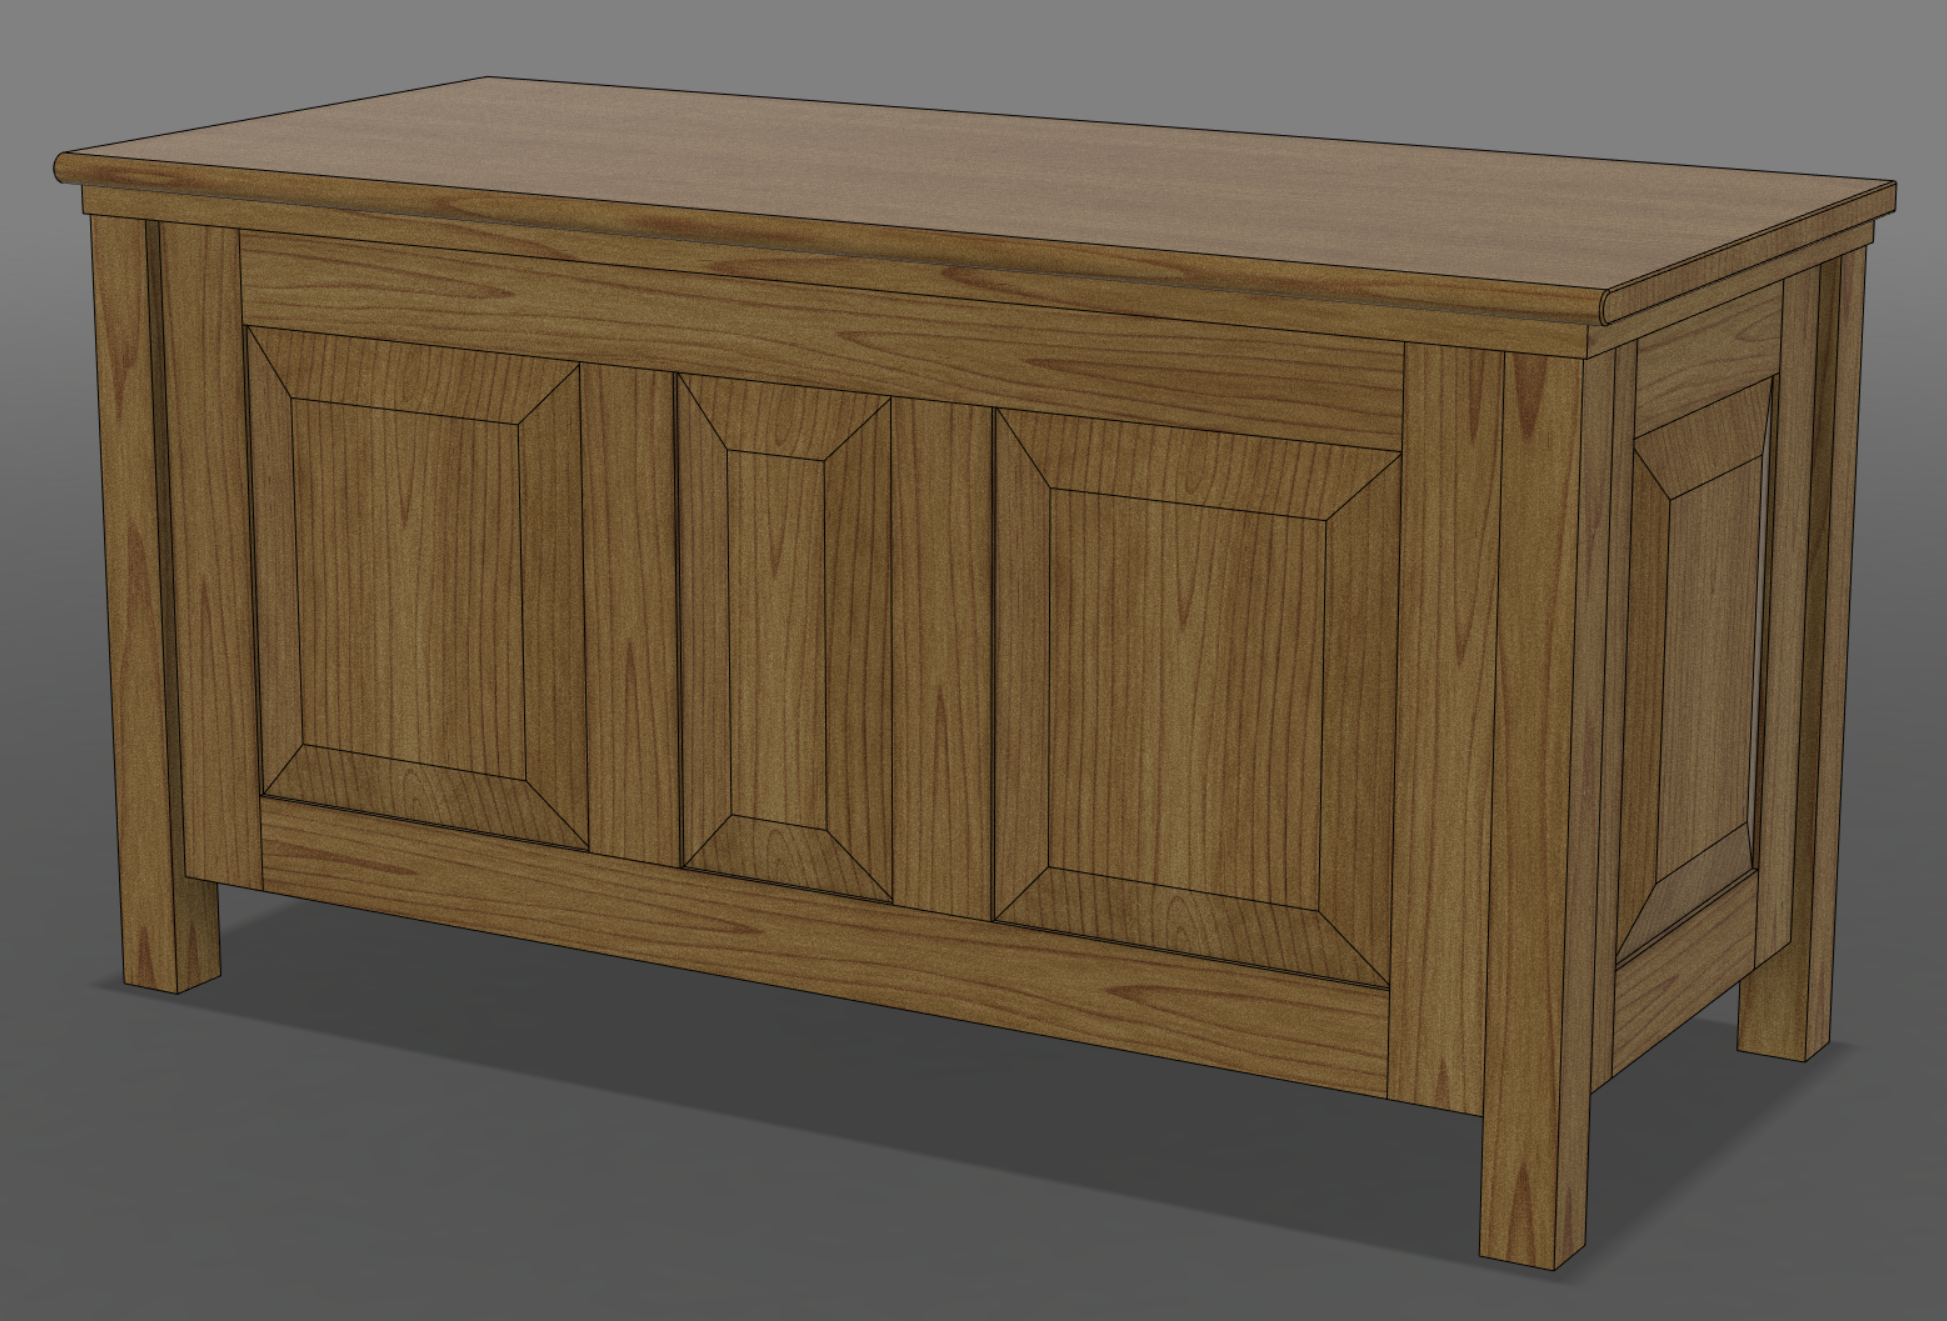
To get a feel for the appearance and to make minor adjustments to some of the dimensions, I re-built the plans in Fusion 360. I didn’t change much but I did make both the front and back panels have two intermediate stiles instead of one. I also made the front middle panel narrower for aesthetics.
Materials
When buying some walnut from a local guy, I saw his cedar pile, which inspired this project.

The problem was, I couldn’t fit everything I’d need in my car. Fortunately, my parents came down to visit for Theo’s birthday and we were able to pick things up in my dad’s truck.

Construction
This was the first time I’ve made anything that required more than one board. Given that I had to pick through the pile to find relatively clear material, and that cedar is very knotty, that meant I needed to map out all of the rough parts.

I worked hard to ensure that the frame rails and stiles were as clear and straight grained as possible, for appearance and for wood movement purposes.

Before the pandemic lockdown, I was able to resaw the leg blanks from the 9⁄4 live-edge slab you can see on top of the pile above. I don’t have a bandsaw, so a colleague kindly let me cut them on his. This was, notably, my last major interpersonal interaction until we joined a pod many months later. I carefully arranged these so that they would have a bookmatched appearance on the front.

Originally, as you can see in the plan above, I had planned to make raised-panel sides. However, I wasn’t going to be able to make them have nice grain matching, and given the amount of random sapwood, I was concerned about how it would line up. It is also a heavier style than I like, so I pivoted to flat panels. Now I had more than enough wood and even better, I realized that I had bought a set of bookmatched boards.
I used a choice segment of these two boards, very carefully and safely resawed on the table saw, to make double (?) bookmatch for the front panels. In the final construction you should be able to see that the front panels are one tree unfolded like a tri-folded brochure.


Here is a mockup of the frame layout. It took me a surprising amount of time to sort the cut order out optimally…

Using standard techniques that I learned from many youtube videos, I cut and joined the many rails and stiles.

Following the cut patterns from the MLCS designs (rather than properly sizing haunched mortises) I cut the long mortises with my router. I didn’t have a wide enough bit so it took a few passes. Following Marc Spagnolo’s trick, I rounded off the tenons rather than squaring up the mortises.

After cutting 8 of those, gluing up all of the panels, and milling them down to thickness, I was able to do my first dry fit. It actually looks like a chest. Note, here, the panels are in the opposite orientation as they are in the finished project. This was because I thought they might look scary for my son. (In the final version I think one looks like Mr. Burns from the X-Files episode.)

Following lessons from Matt Cremona, I prefinished the panels, the interior edges of the frames, and the legs. I should have waited to finish the outside of the legs until after gluing. Then I prefinished each frame.


A dry fit!

Gluing the carcass! For all gluing I used epoxy for the long working time. I’m rarely ever going to use PVA glue again. The long working time made that process way less stressful. It was also helpful because epoxy is lubricating and some of the joints were quite tight.

The lid was from a set of wide, nicely figured boards that I had reserved at the beginning of the process. I assembled these with dowels because one board really wanted to curve some. This helped keep everything flat.

I hand scraped the lid after gluing. First time for everything!

After assembling the frame cap and gluing it on, I hand cut the hinge mortises with my router plane and chisels. These were for the decorative hinges.


I also glued in some shims for the slow-close hinges and test fit it as an actual chest!

I milled the floor panels down to 1⁄2 inch (for weight) and am leaving them unfinished for the nice smell.

Final Results
After final finishing of the lid, cap, and such, the whole thing is assembled and waiting for Christmas morning.
This was a project of firsts for me:
- First time building a piece of furniture.
- First time building completely from rough lumber and laying out parts on said rough lumber.
- First frame-and-panel construction.
- First mortise and tenons (or are legs tongue-and-groove?).
- First time using epoxy for filling knots, voids, and cracks.
- First time cutting mortises with a router.
- First time using the doweling jig.
- First time pre-finishing sub-assemblies as I went.
- First time using a router plane.
- First time using card scrapers.
- First time using epoxy glue.
- First time with no structural screws.
Some additional lessons learned:
- Matt Cremona is right, blotch is just another word for figure.
- Cut a few extra test parts during the milling process.
- Parallel bar clamps are amazing.
- F-clamps need better pads.
- Card scraping is far easier than sanding for removing tool marks and excess epoxy.
- Use epoxy glue. Seriously. Not having to rush while the glue is drying is a game changer for my sanity.
Build Gallery


-rjh